VerneMQ and the Arduino UNO
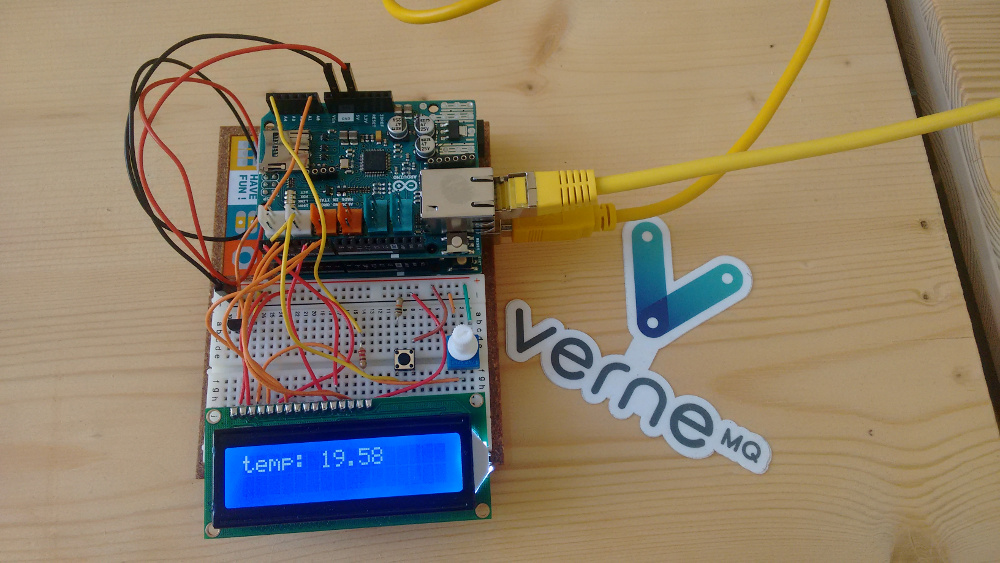
This year I got an Arduino UNO Starter Kit as a birthday present, and it's been a load of fun. It's a fantastic starter kit for anyone who is interested in the basics of electronics and embedded programming and comes at a very reasonable price, including a book containing a number of projects, electronics components etc. Along with the Arduino UNO I also received an ethernet shield (Ethernet Shield 2).
So after having fun playing with the Arduino, the natural next step would be to connect the arduino to the internet and make it talk to VerneMQ.
So I set out to build an Arduino that would support the following requirements:
- Work with our public VerneMQ server (
public.vernemq.com:1883) - Publish the current temperature to
vernehq/arduino-uno/temperatureas a retained message, so you can always get the latest known value. - Show the connectivity status on the
vernehq/arduino-uno/statustopic using last will testament.
To do this I used the Ethernet2 library which comes with Arduino IDE and is compatible with the Ethernet Shield 2 as well as the MQTT library PubSubClient which I dropped into the libraries folder of my Arduino Studio installation.
Instead of going through all the details about how to do sensor readings and getting the LCD display to work (there are great documentation articles on the Arduino site for that), I've created the simplest possible program that demonstrates how to work with the MQTT features to support the requirements above:
#include <SPI.h>
#include <Ethernet2.h>
#include <PubSubClient.h>

byte mac[]    = {  0xDE, 0xED, 0xBA, 0xFE, 0xFE, 0xED };
char server[] = "public.vernemq.com";
EthernetClient ethClient;
PubSubClient client(server, 1883, ethClient);

void setup() {
  Ethernet.begin(mac);
  if (!client.connect("some_client_id", "vernehq/arduino-uno/status",
                       0, true, "offline")) {
     for (;;) {
       // do nothing, no point in continuing
     }
  }
  client.publish("vernehq/arduino-uno/status", "online", true);
}

void loop() {
  client.publish("vernehq/arduino-uno/temperature", "25.04", true);
  delay(1000);
}
The basic structure of an Arduino program is really simple - you have a setup function where you initialize everything and thereafter a loop function which will be called forever by the system.
In the setup function we obtain an IP address via DHCP, then we connect to our public VerneMQ instance using the function client.connect which takes 5 arguments: client id, last will topic, last will QoS, last will retain (bool) and last the last will message.
After successfully connecting we update the status by publishing that we're online as a retained message to the status topic and this concludes the setup phase.
The loop is even simpler. Every time we enter the loop we publish a retained message to the temperature topic with the latest sensor reading and then we sleep for a second, to make sure we only publish once about every second.
That's all you need to hook up an Arduino device with VerneMQ! Easy right? Of course, there are many things that could be improved here such as automatic reconnect, renewing the DHCP IP address etc, but those thing are left as an exercise to the reader.
Conclusion
Working with MQTT and connecting to VerneMQ on the Arduino UNO is really easy and fun and I can highly recommend it! Are you playing with VerneMQ and Arduinos or similar? Let us know!
Cheers,
Lars & The VerneMQ Mission Engineers